Manage User Roles and Permissions
As your business grows, you may need to add more team members to help manage your Fincra account. This guide will walk you through how to create roles with specific permissions and add users to your account, ensuring that each user has access only to the features they need. Follow the steps below to get started.
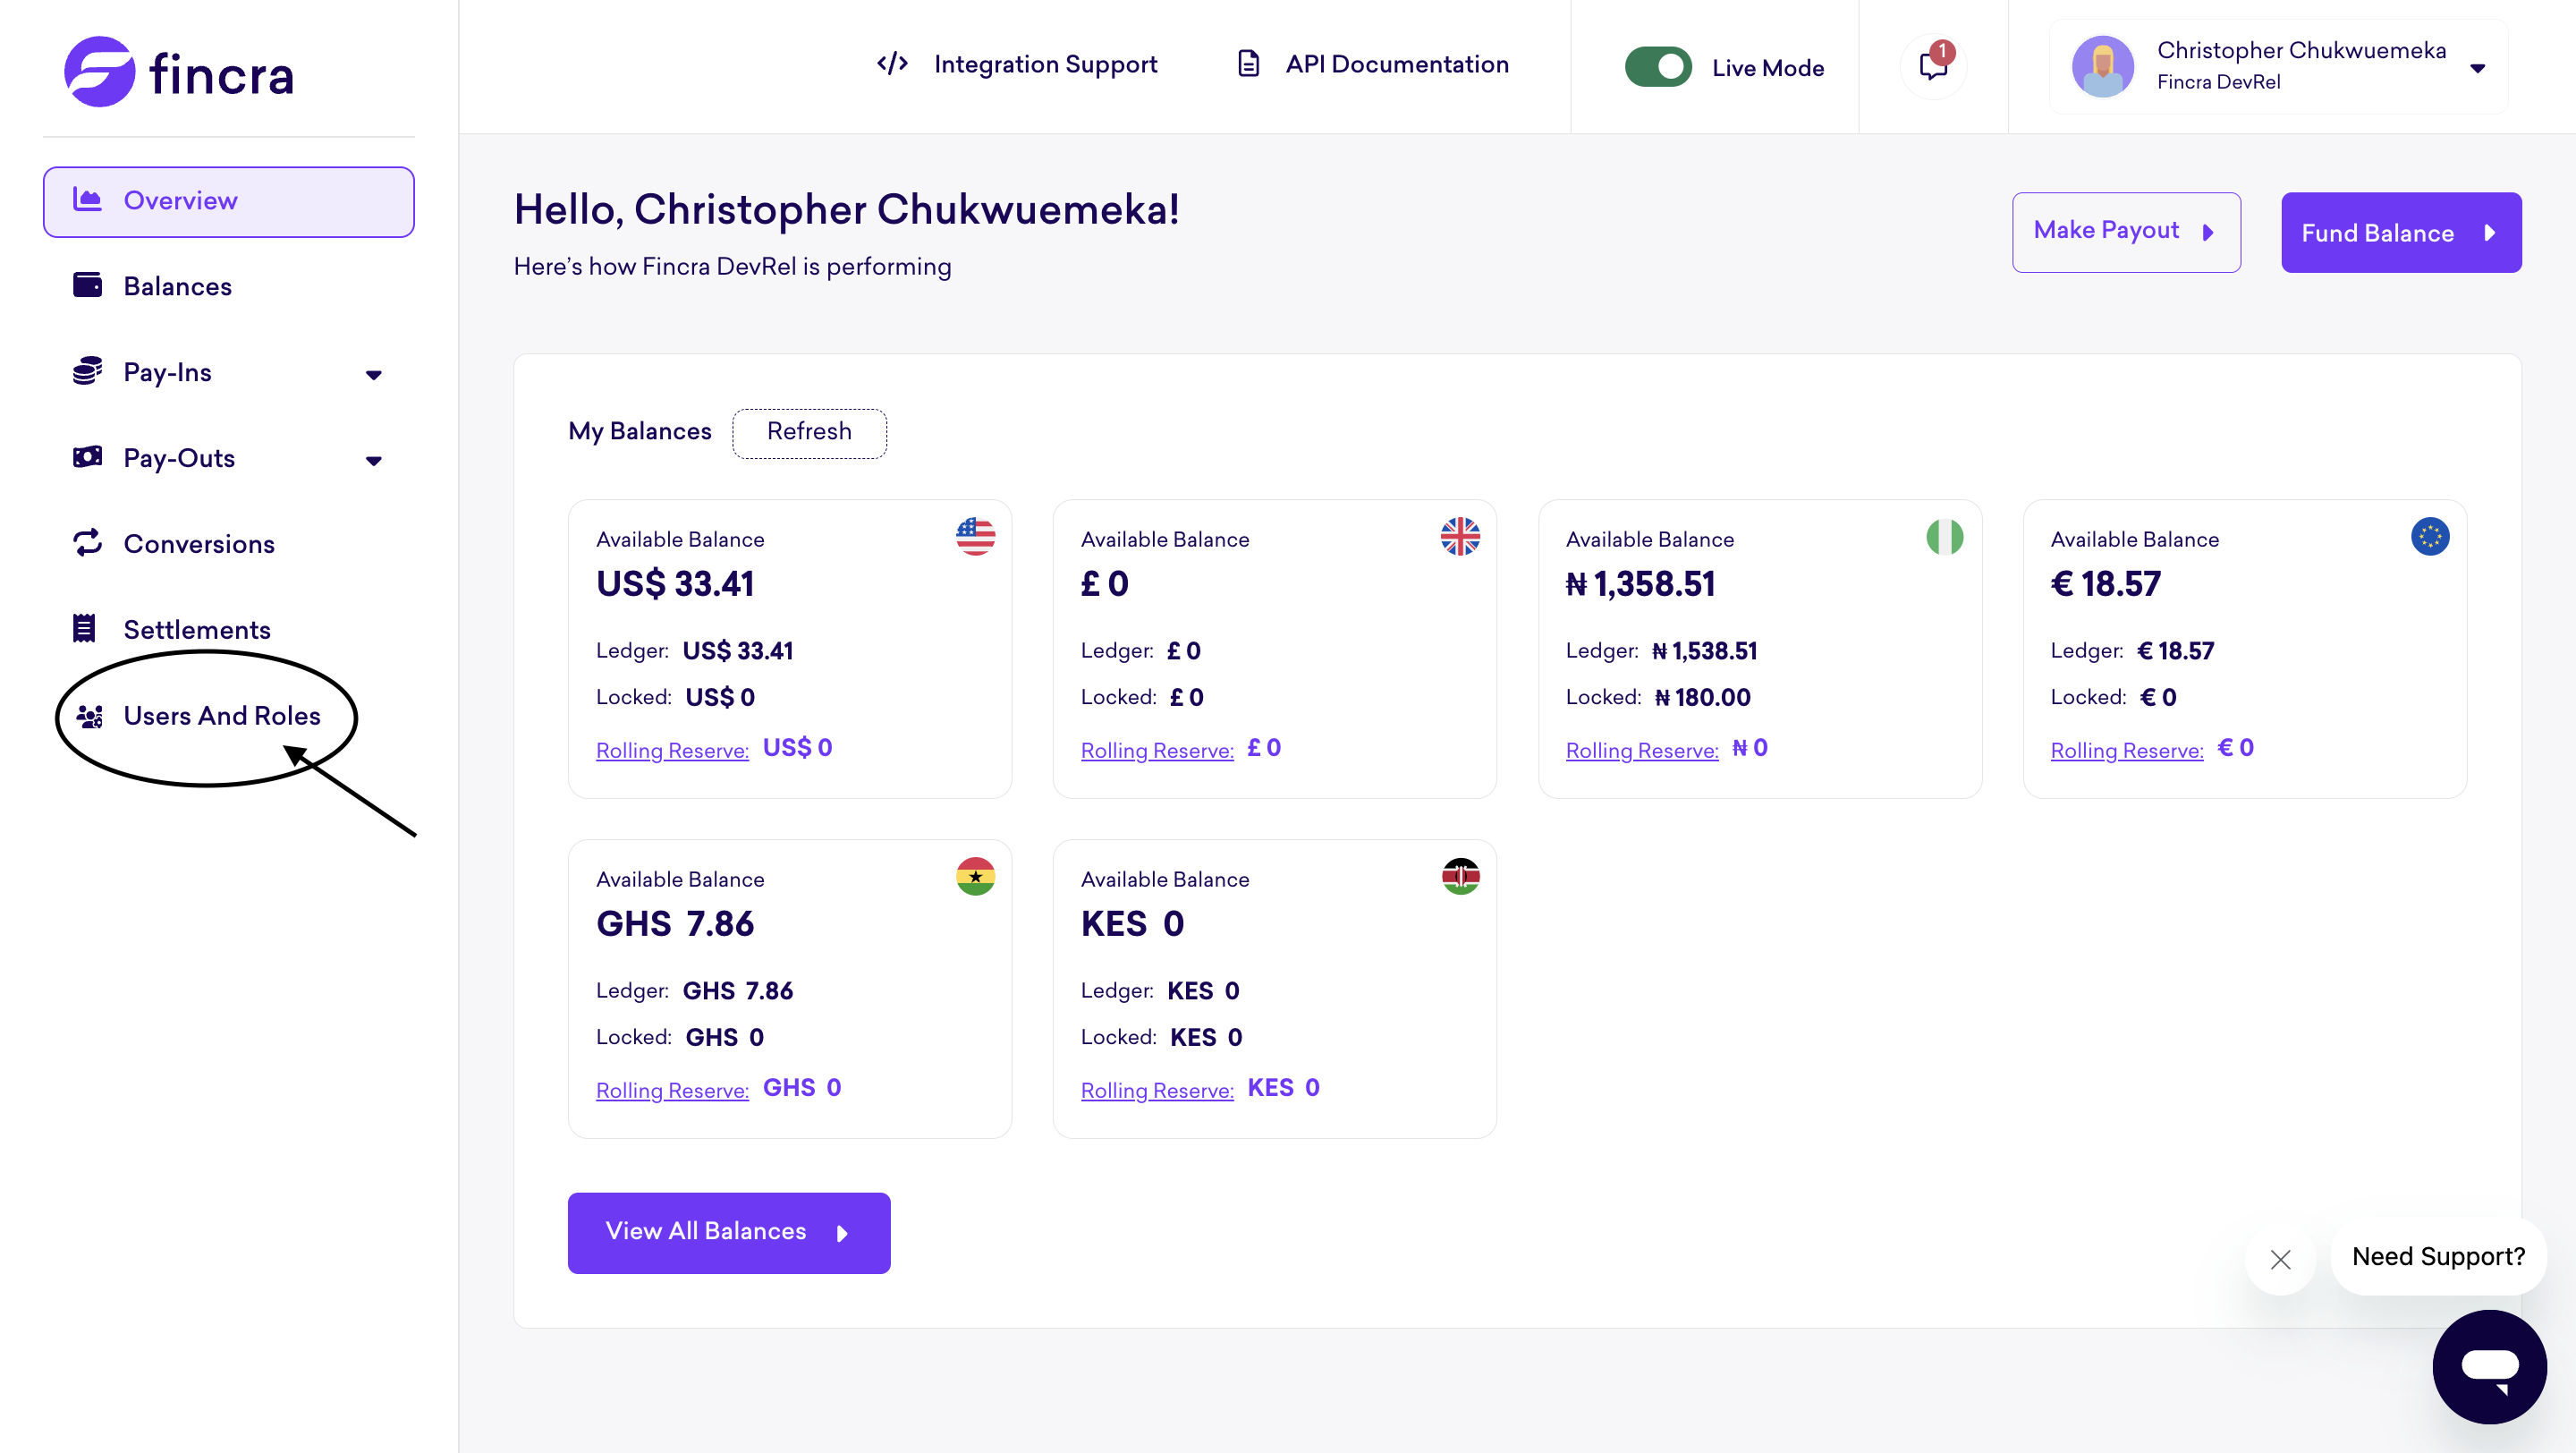
Begin by logging into your Fincra dashboard. Once logged in, navigate to the Users and Roles section.
Managing Roles
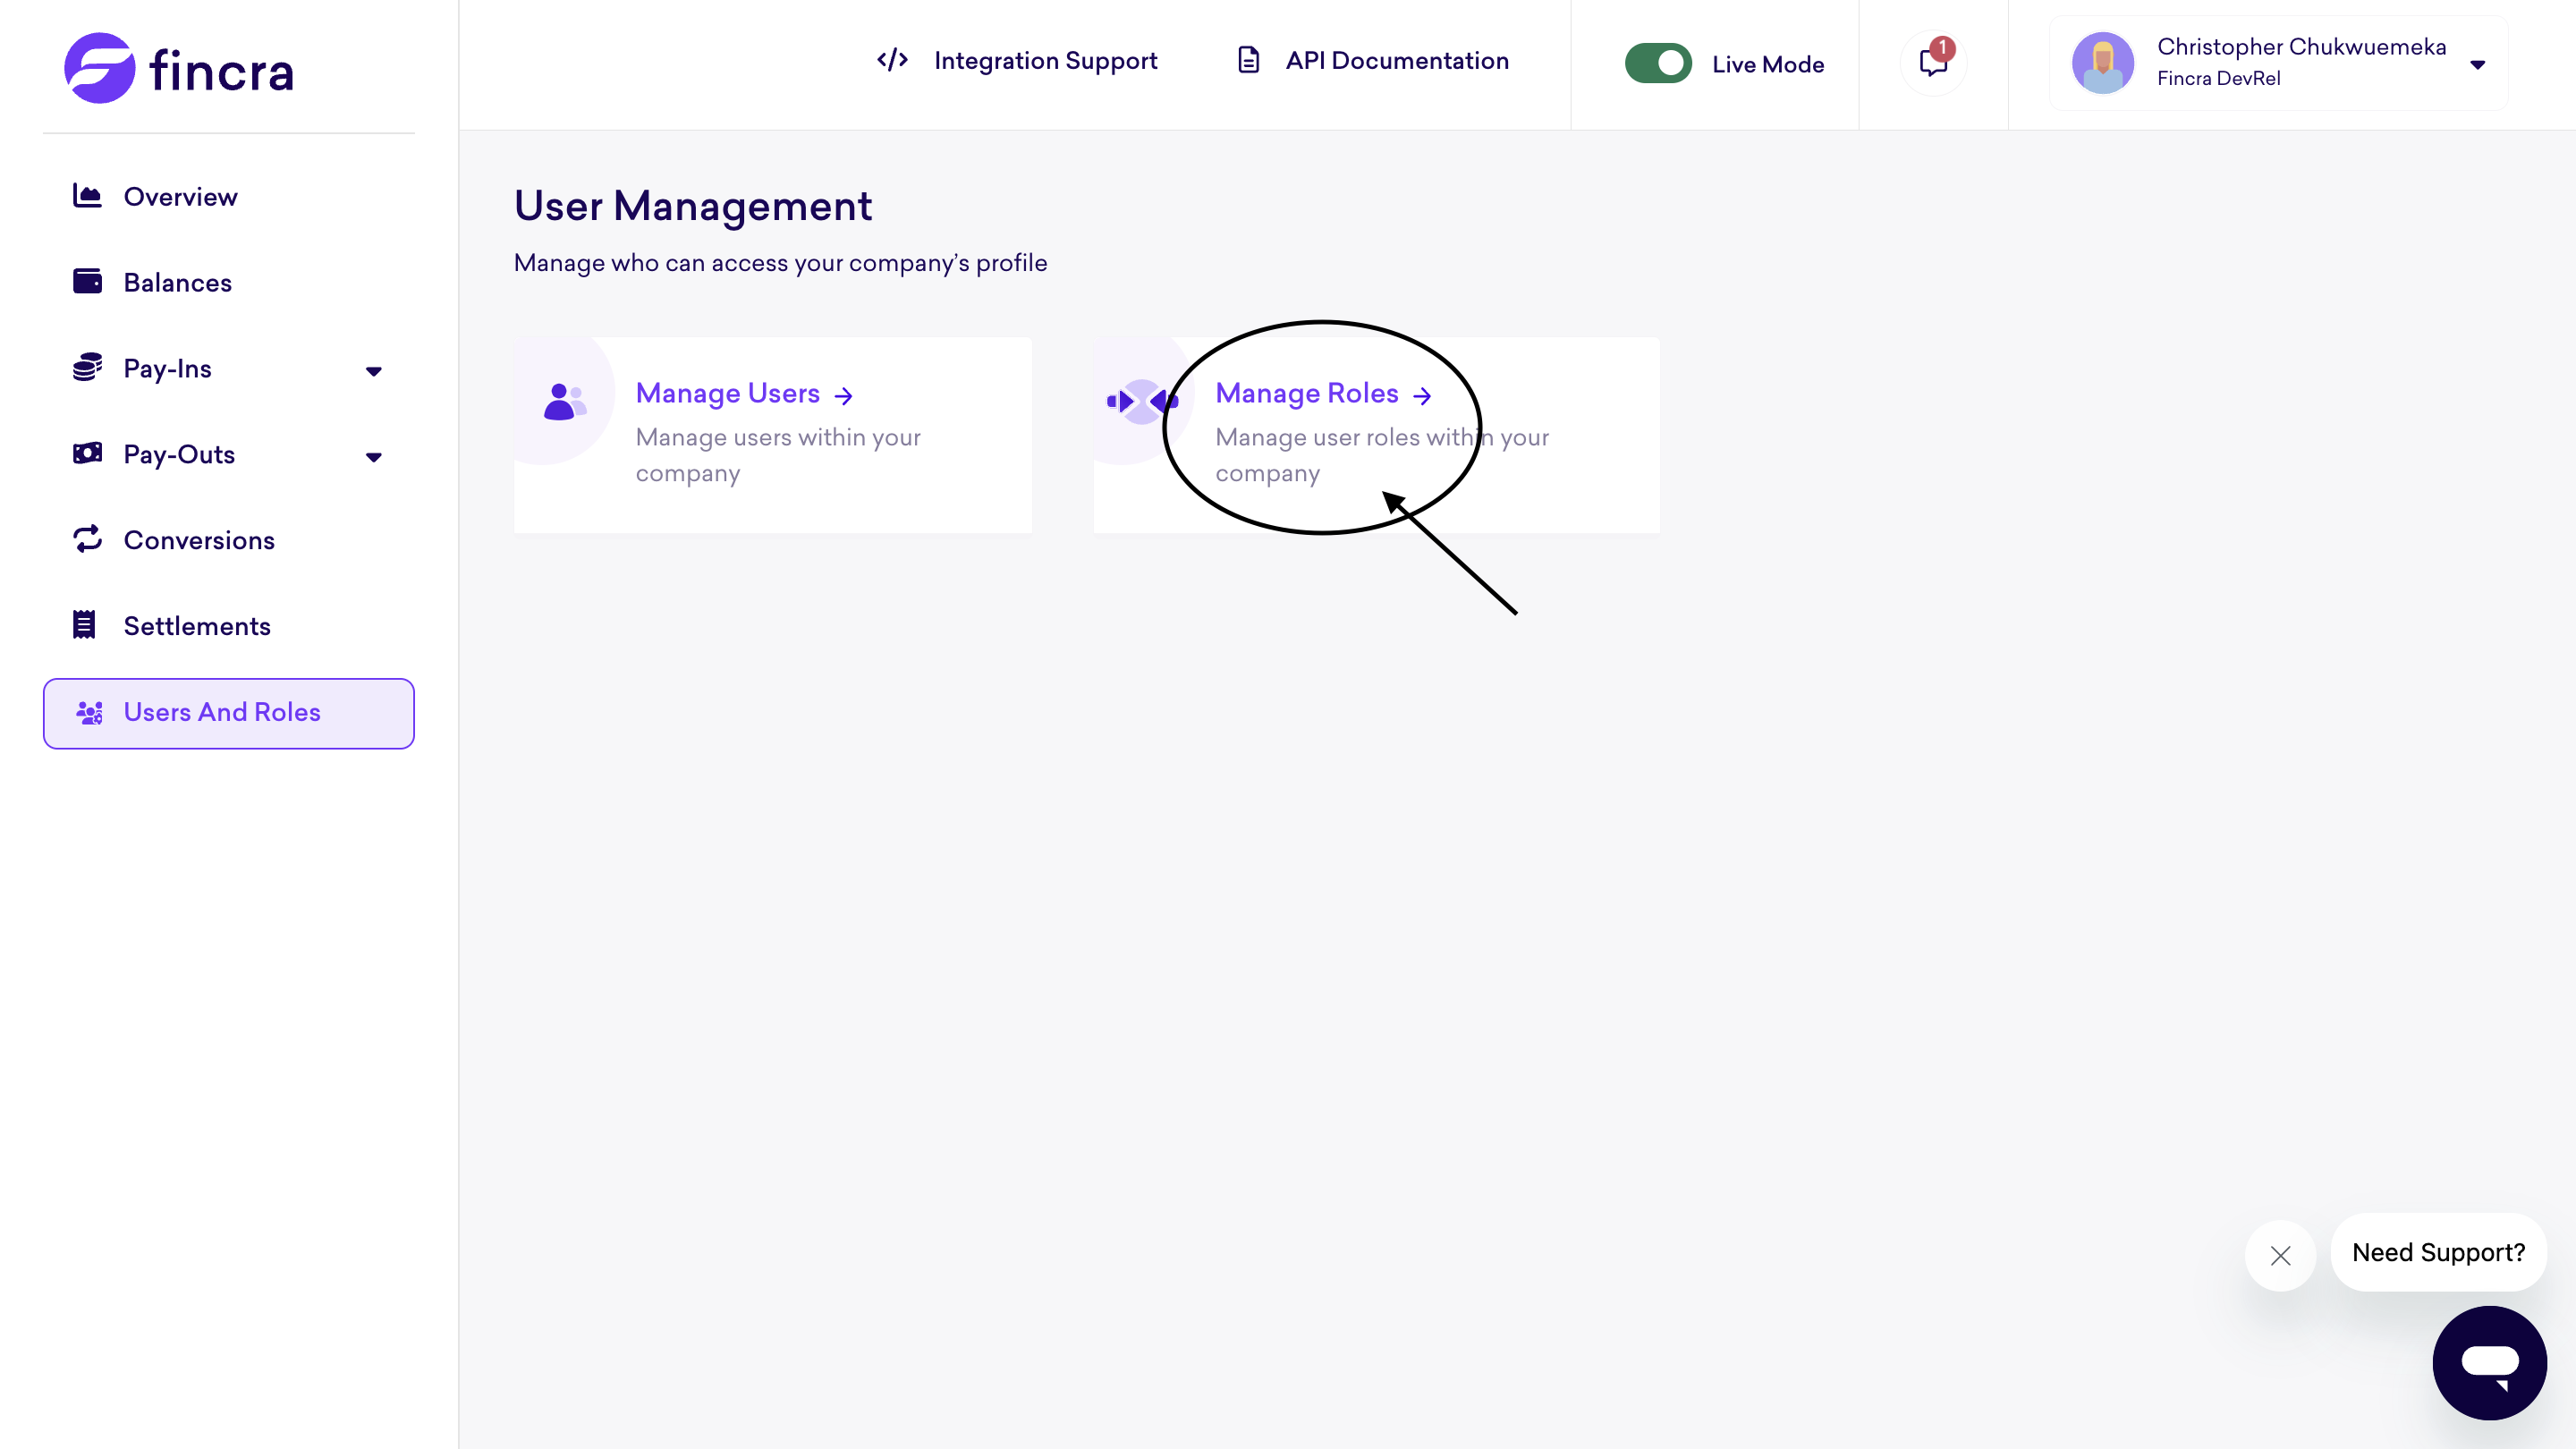
Step 1: Accessing Roles Management
After selecting Manage Roles, you’ll be presented with a screen listing all existing roles. By default, there is a Super Admin role, which has full permissions and complete access to the account. Assigning the Super Admin role to another user means they will have the same level of access as the main account owner.
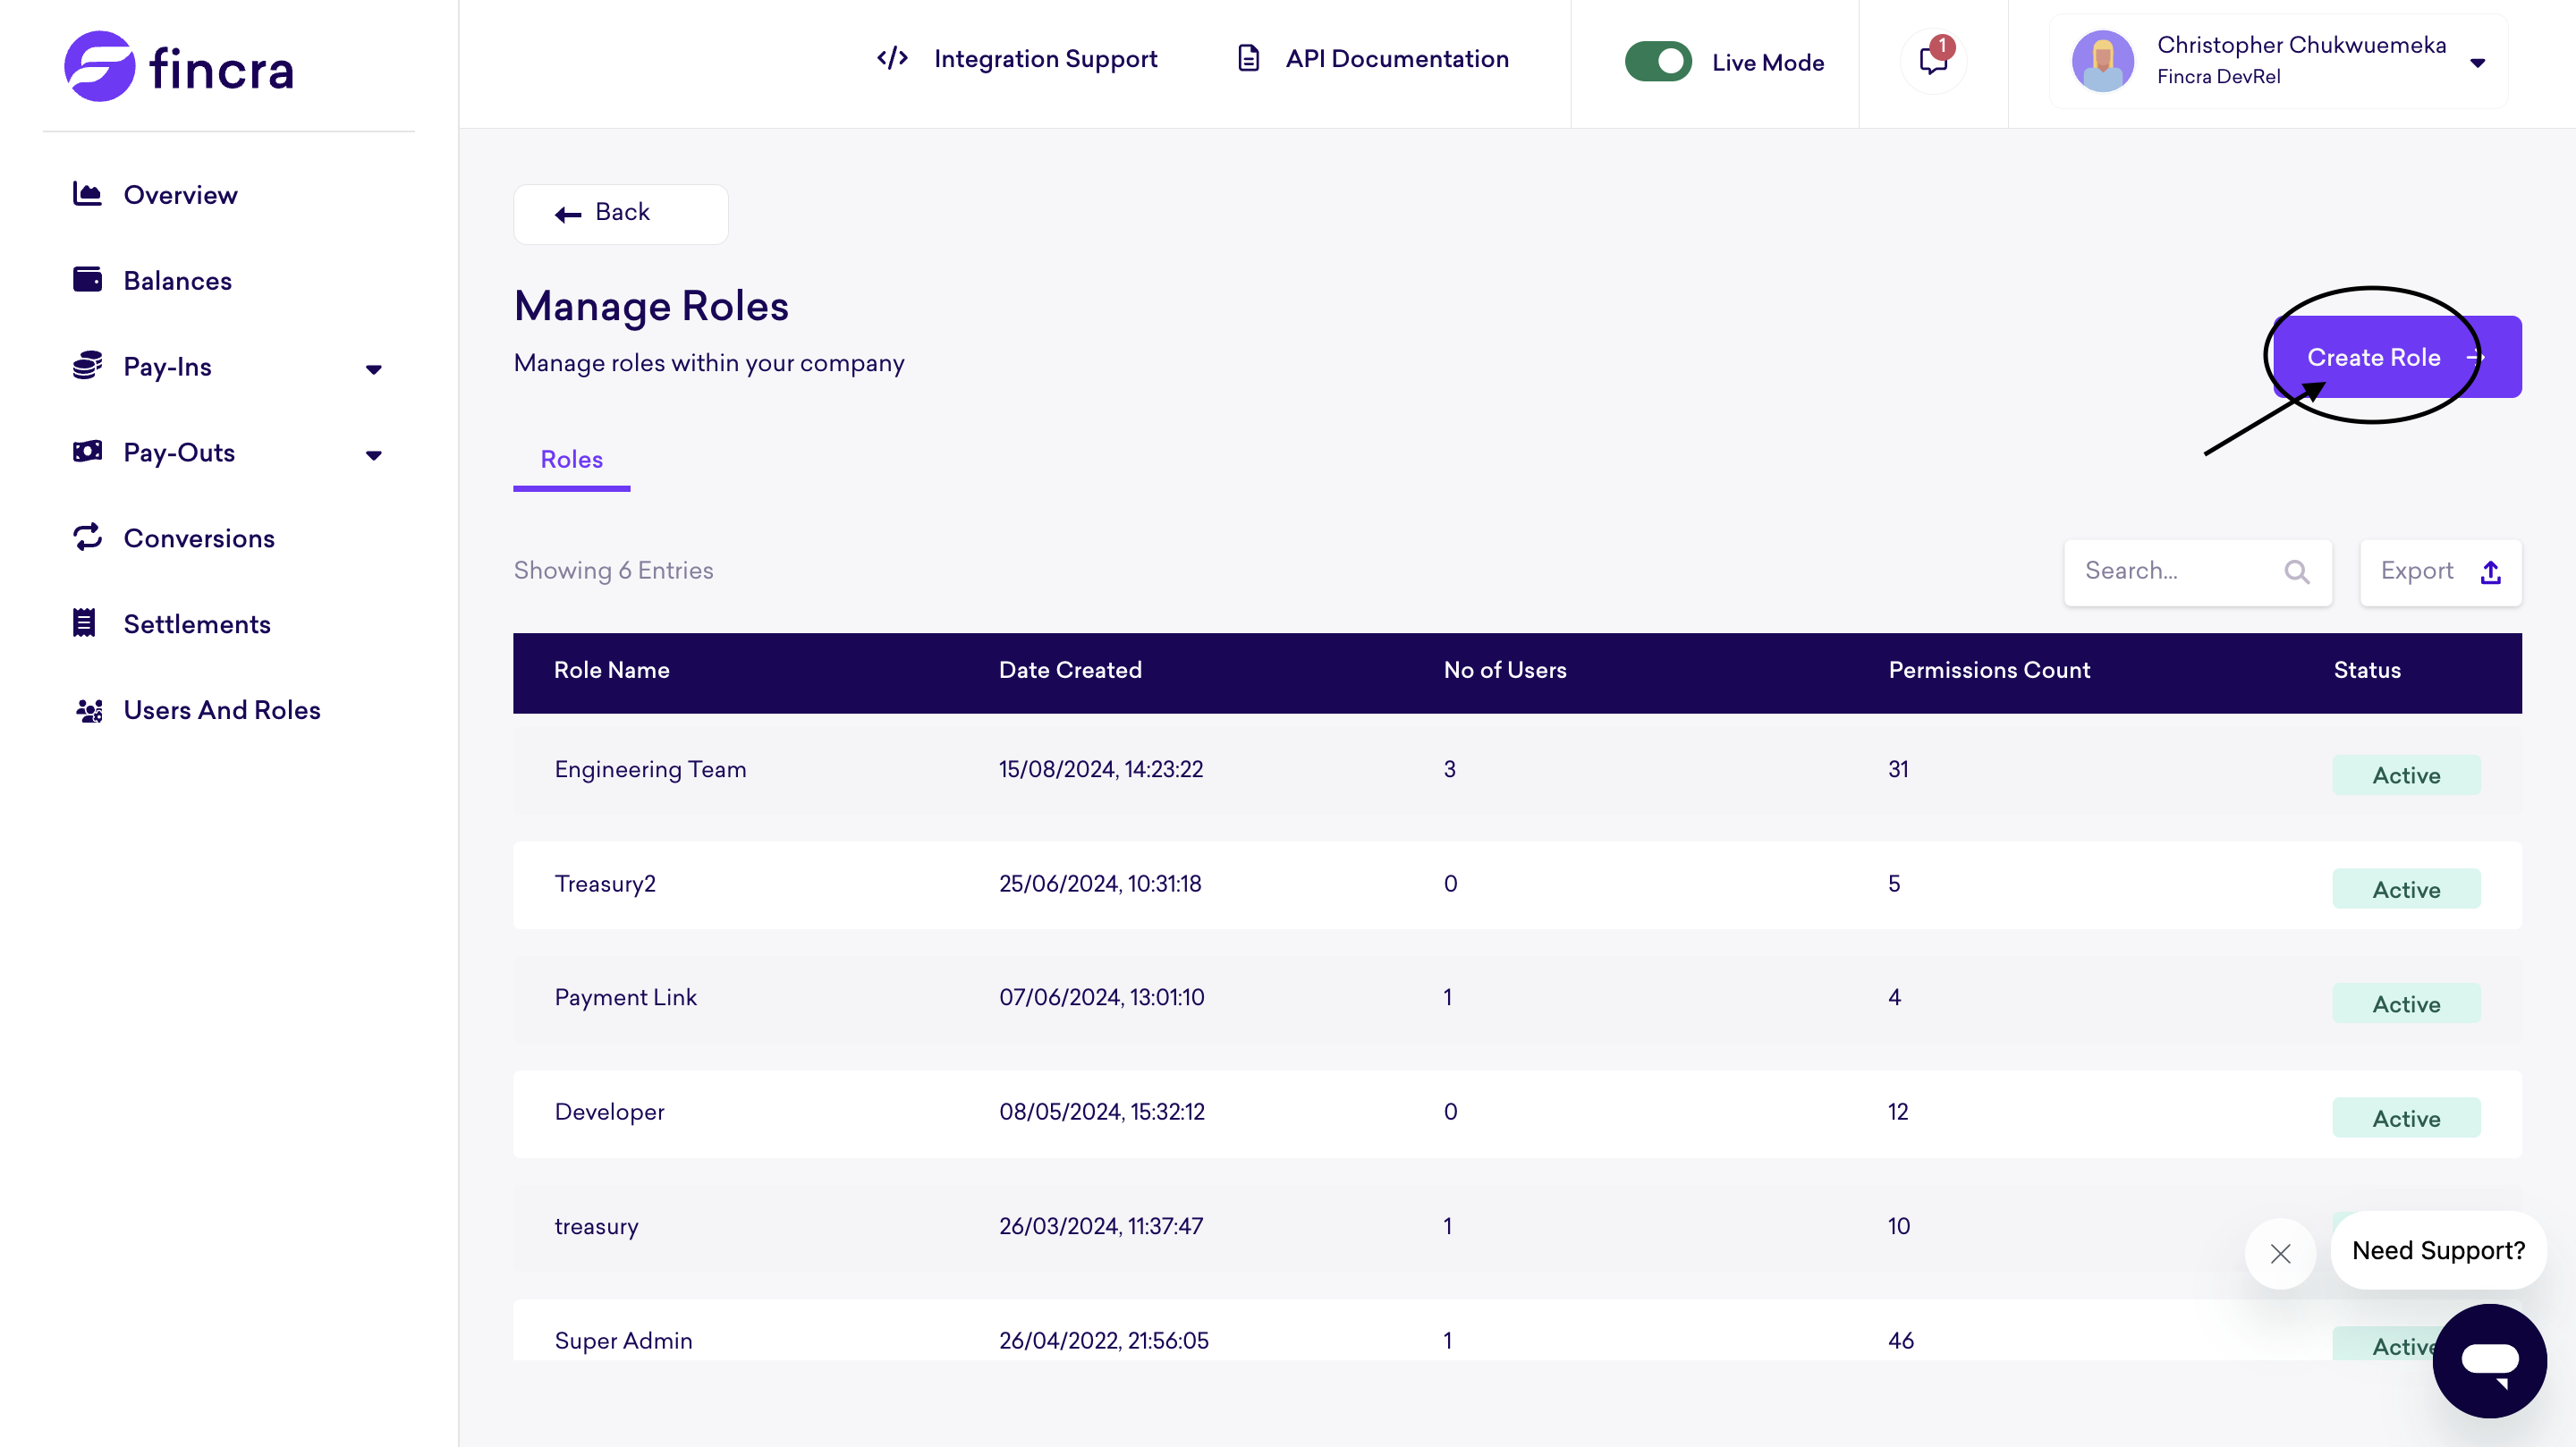
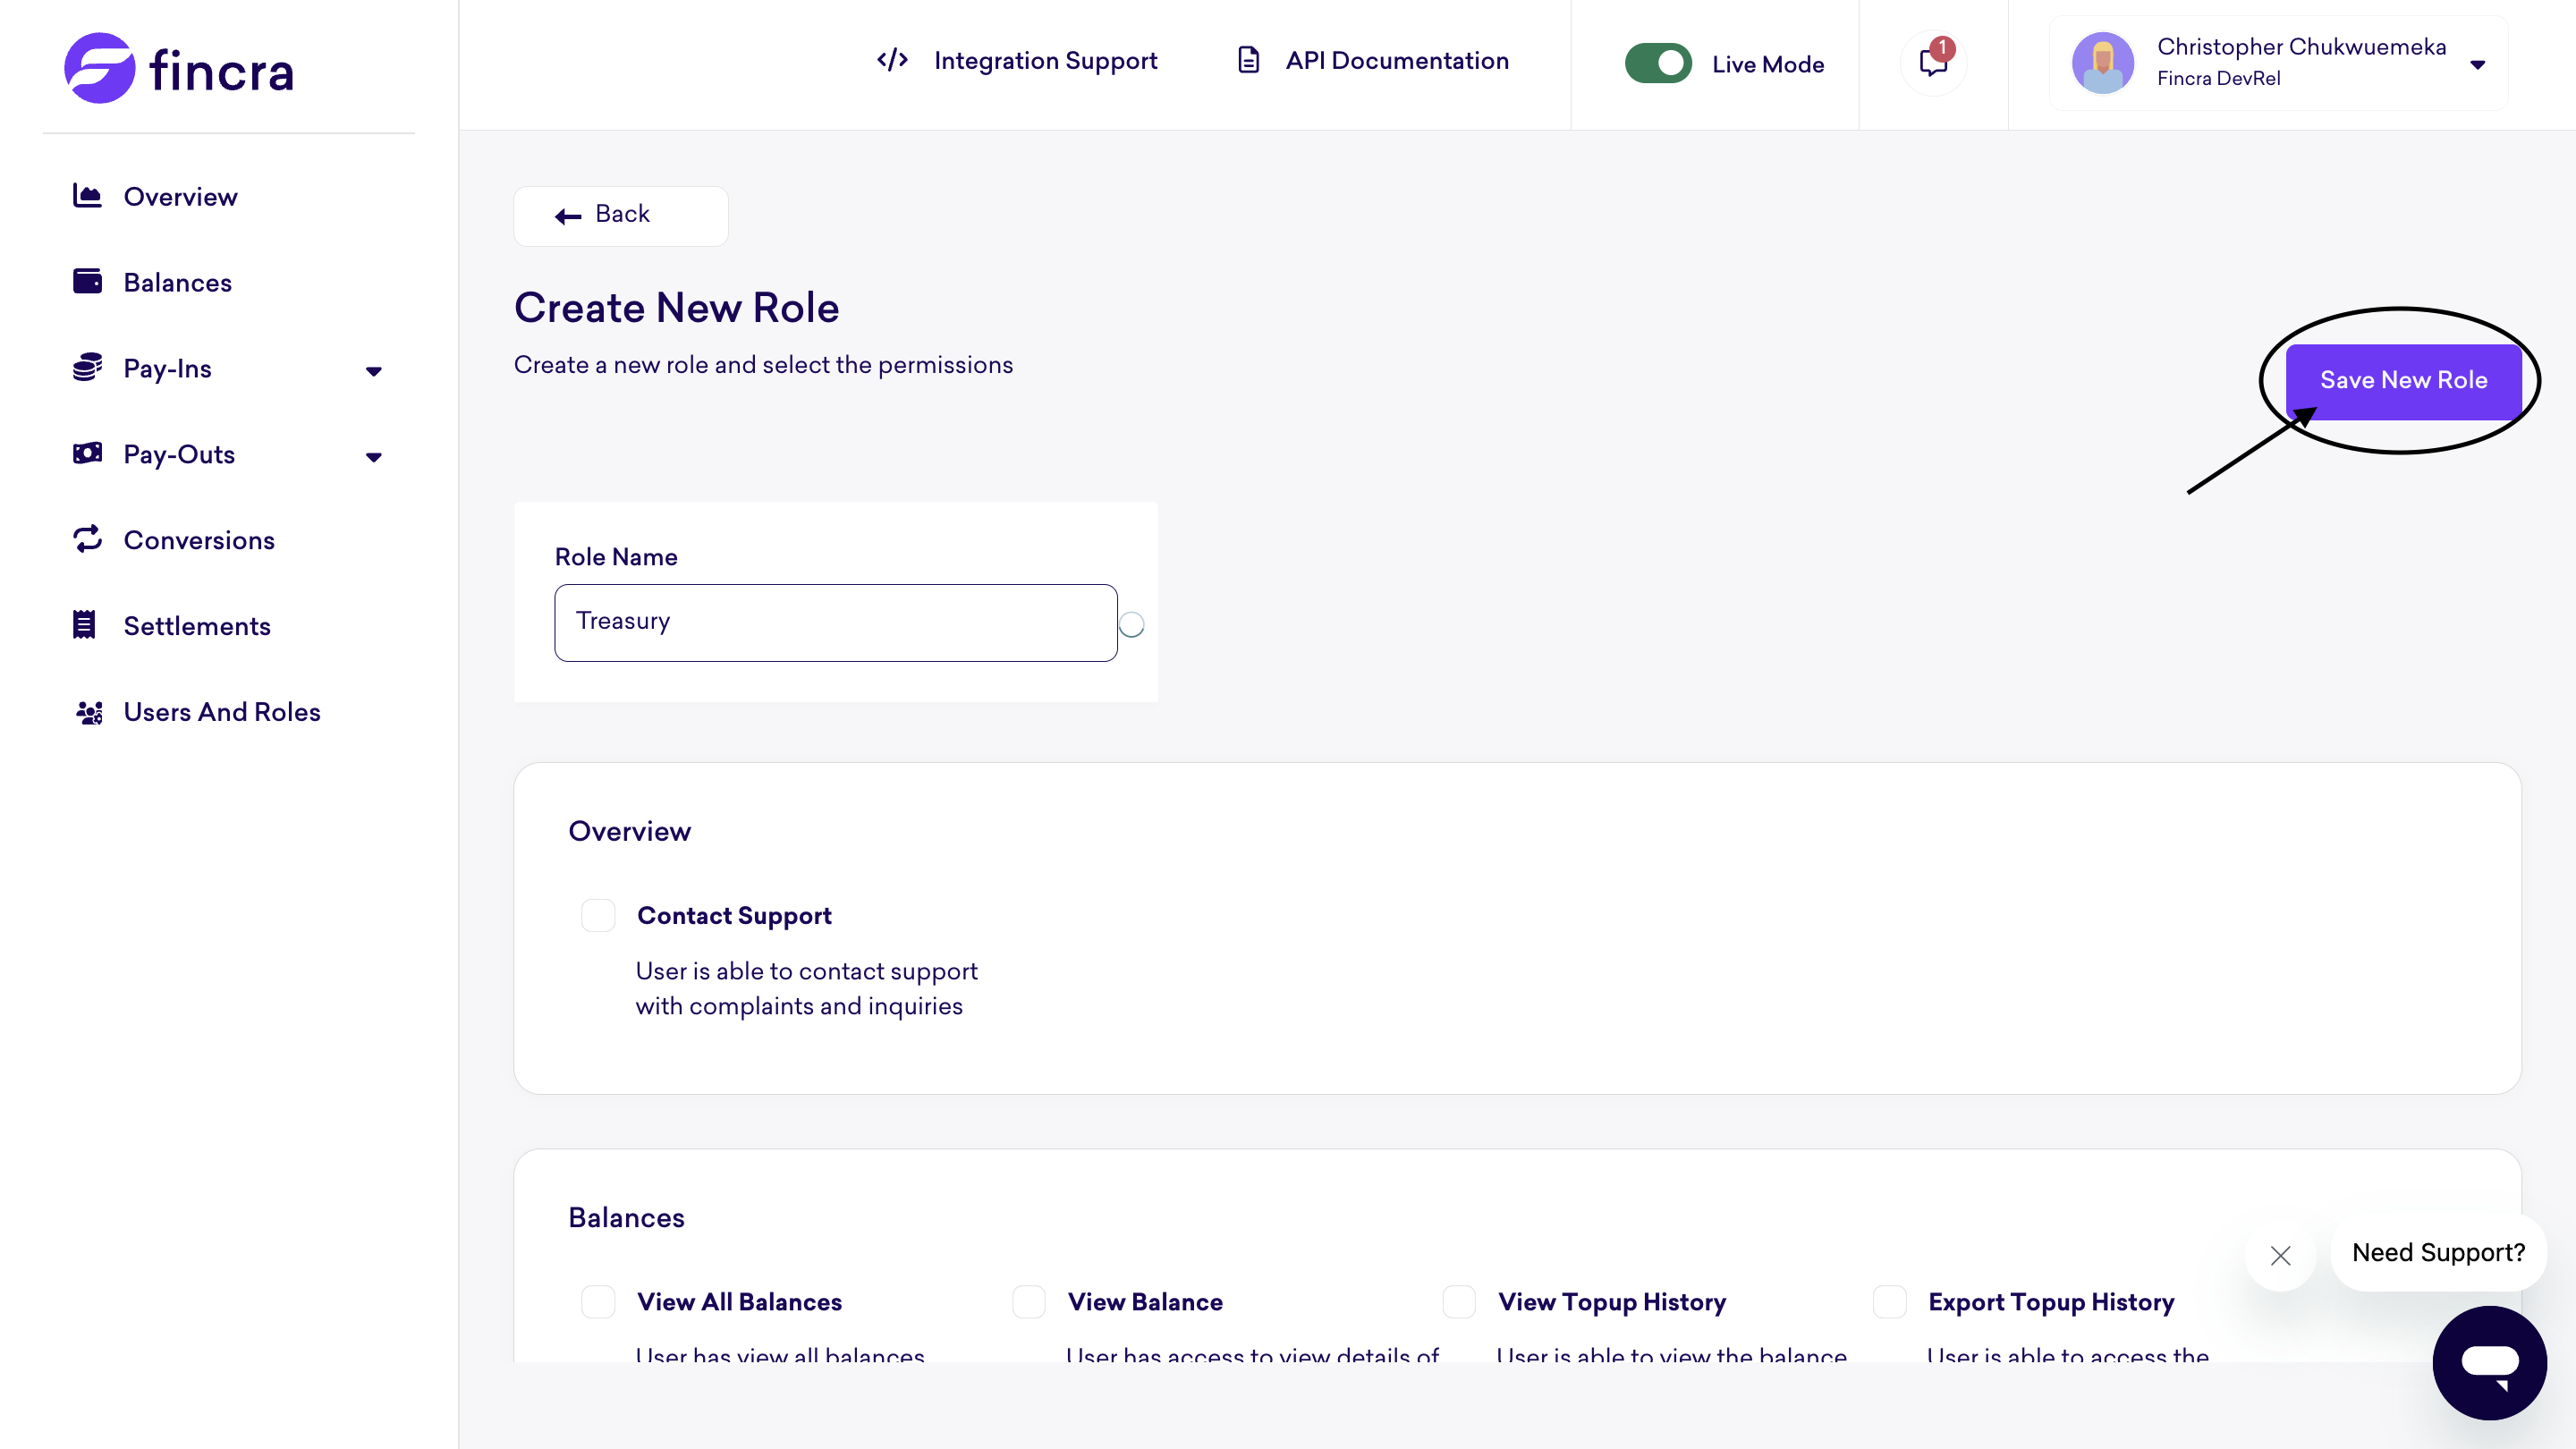
Step 2: Creating a New Role
To add a new role, click on the Create Role button. This will take you to the role creation page where you can define the role’s permissions.
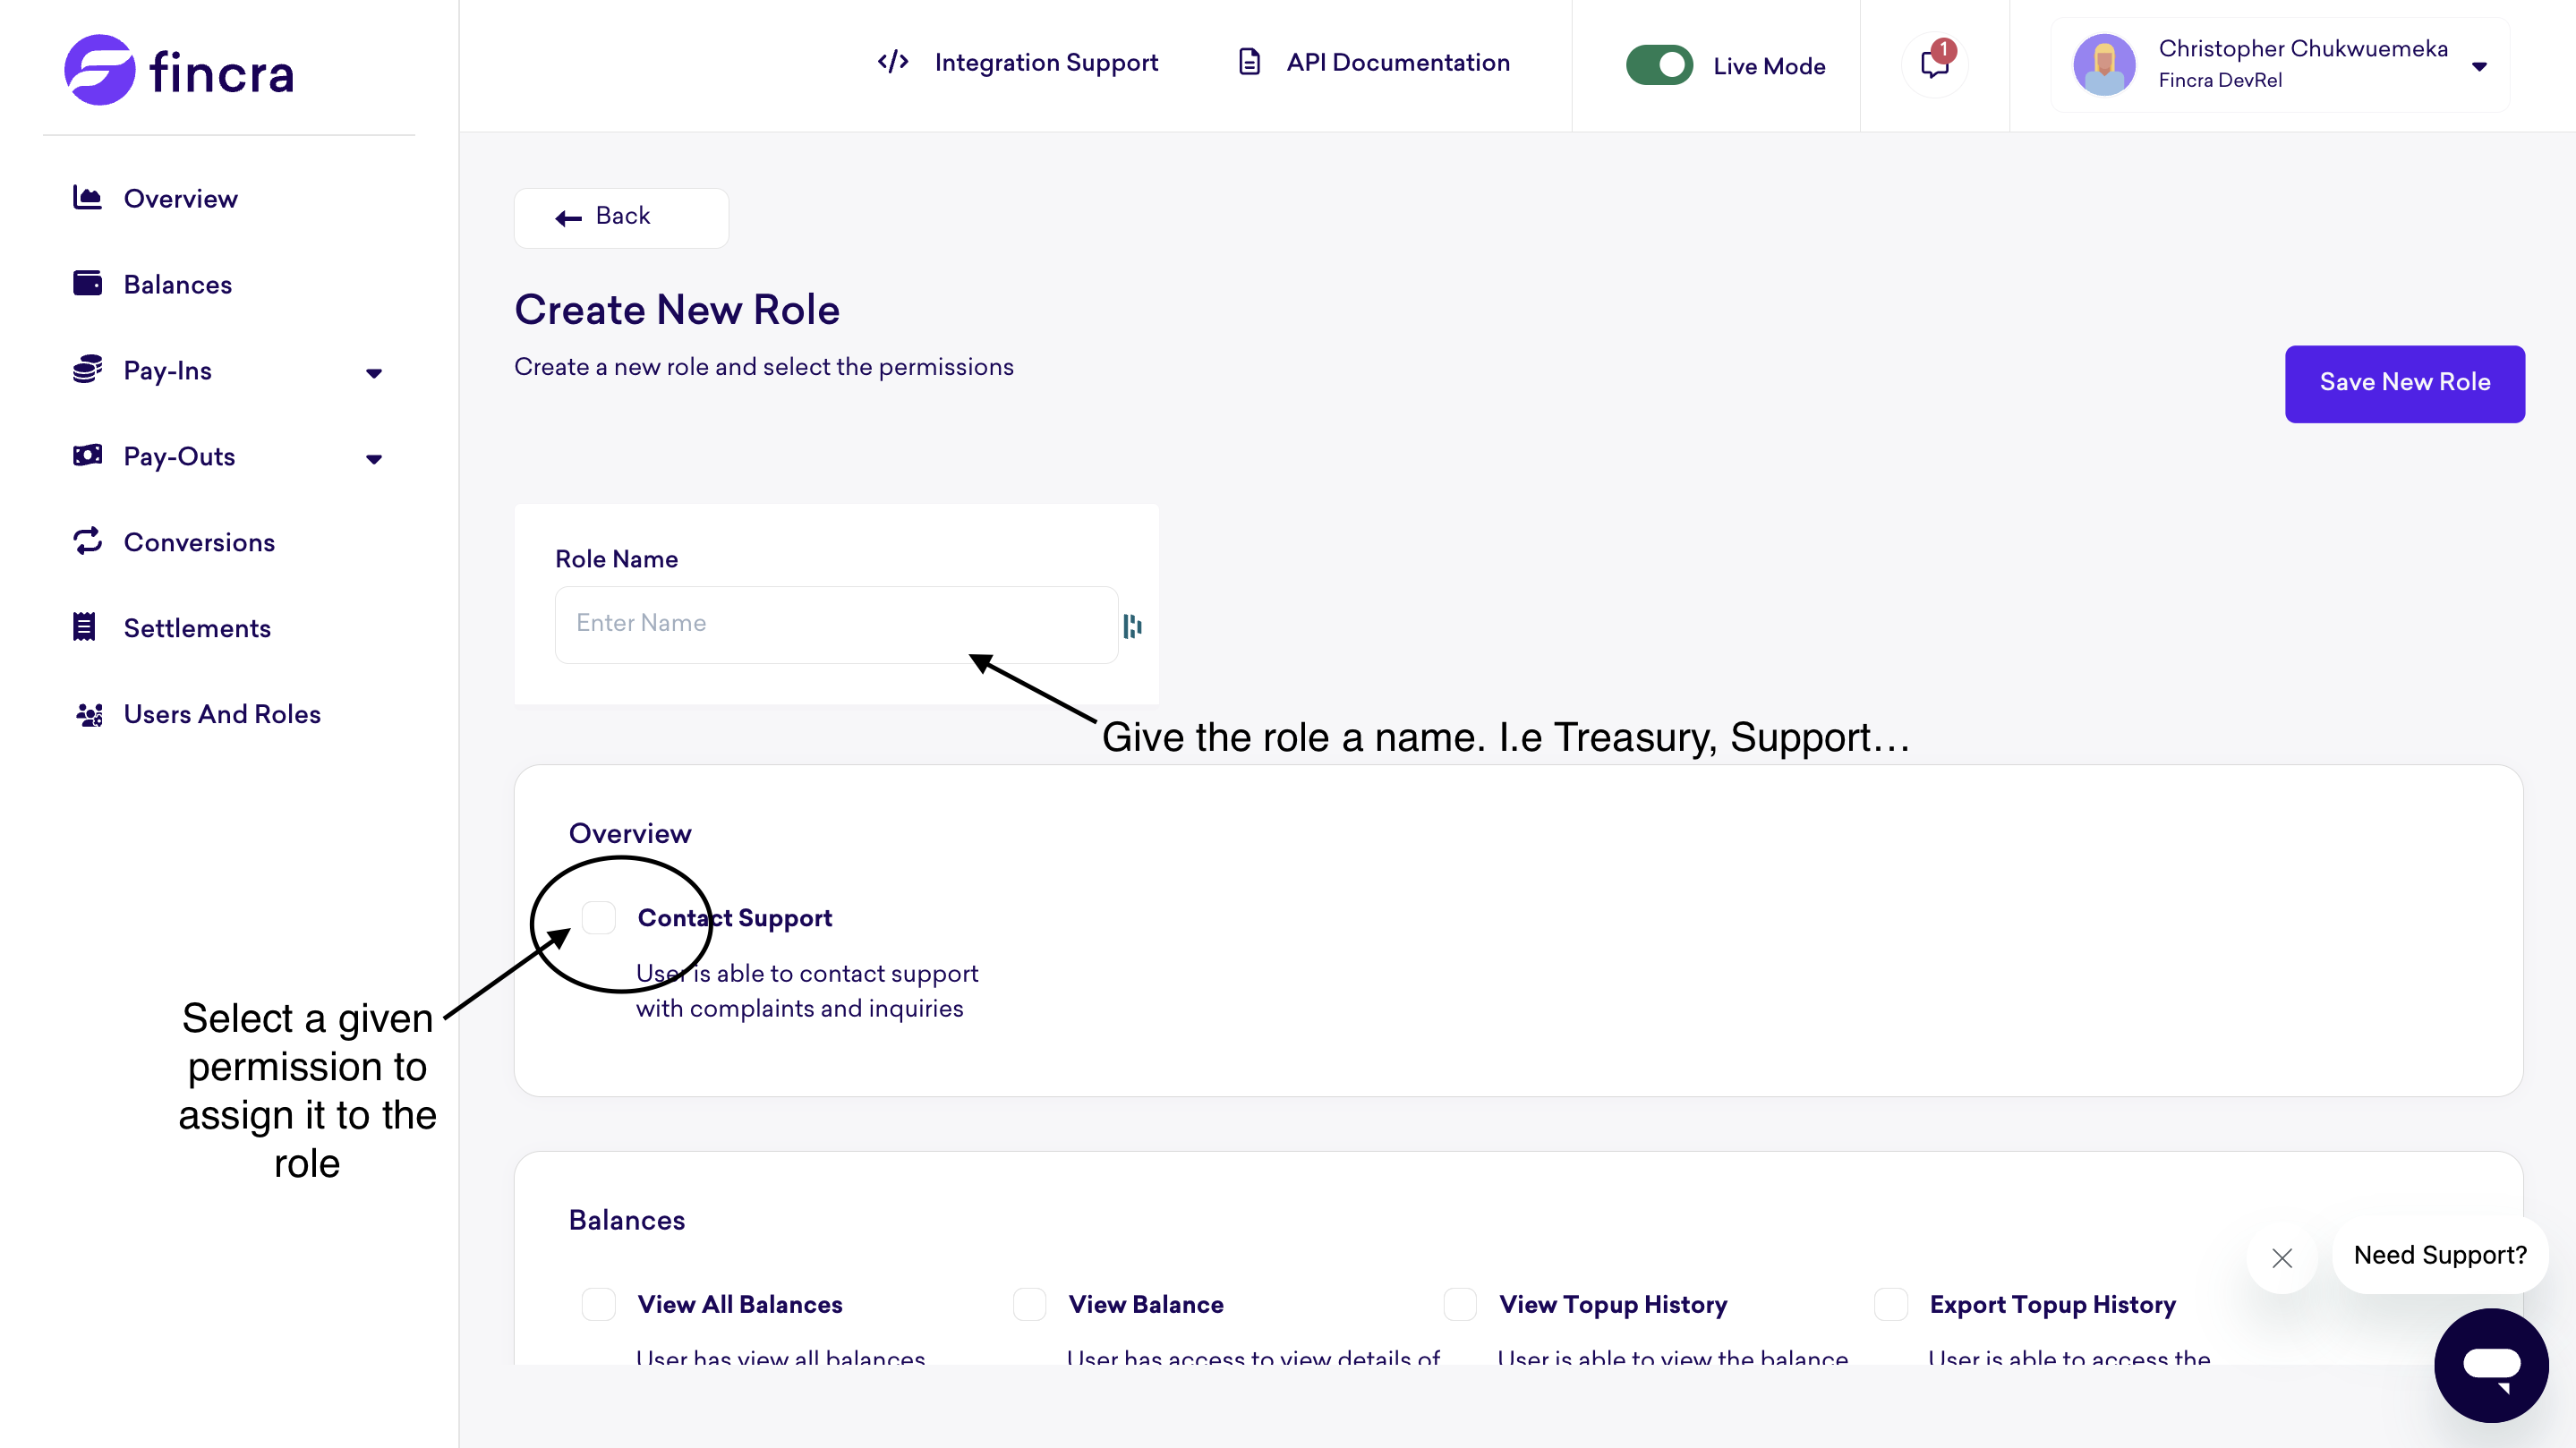
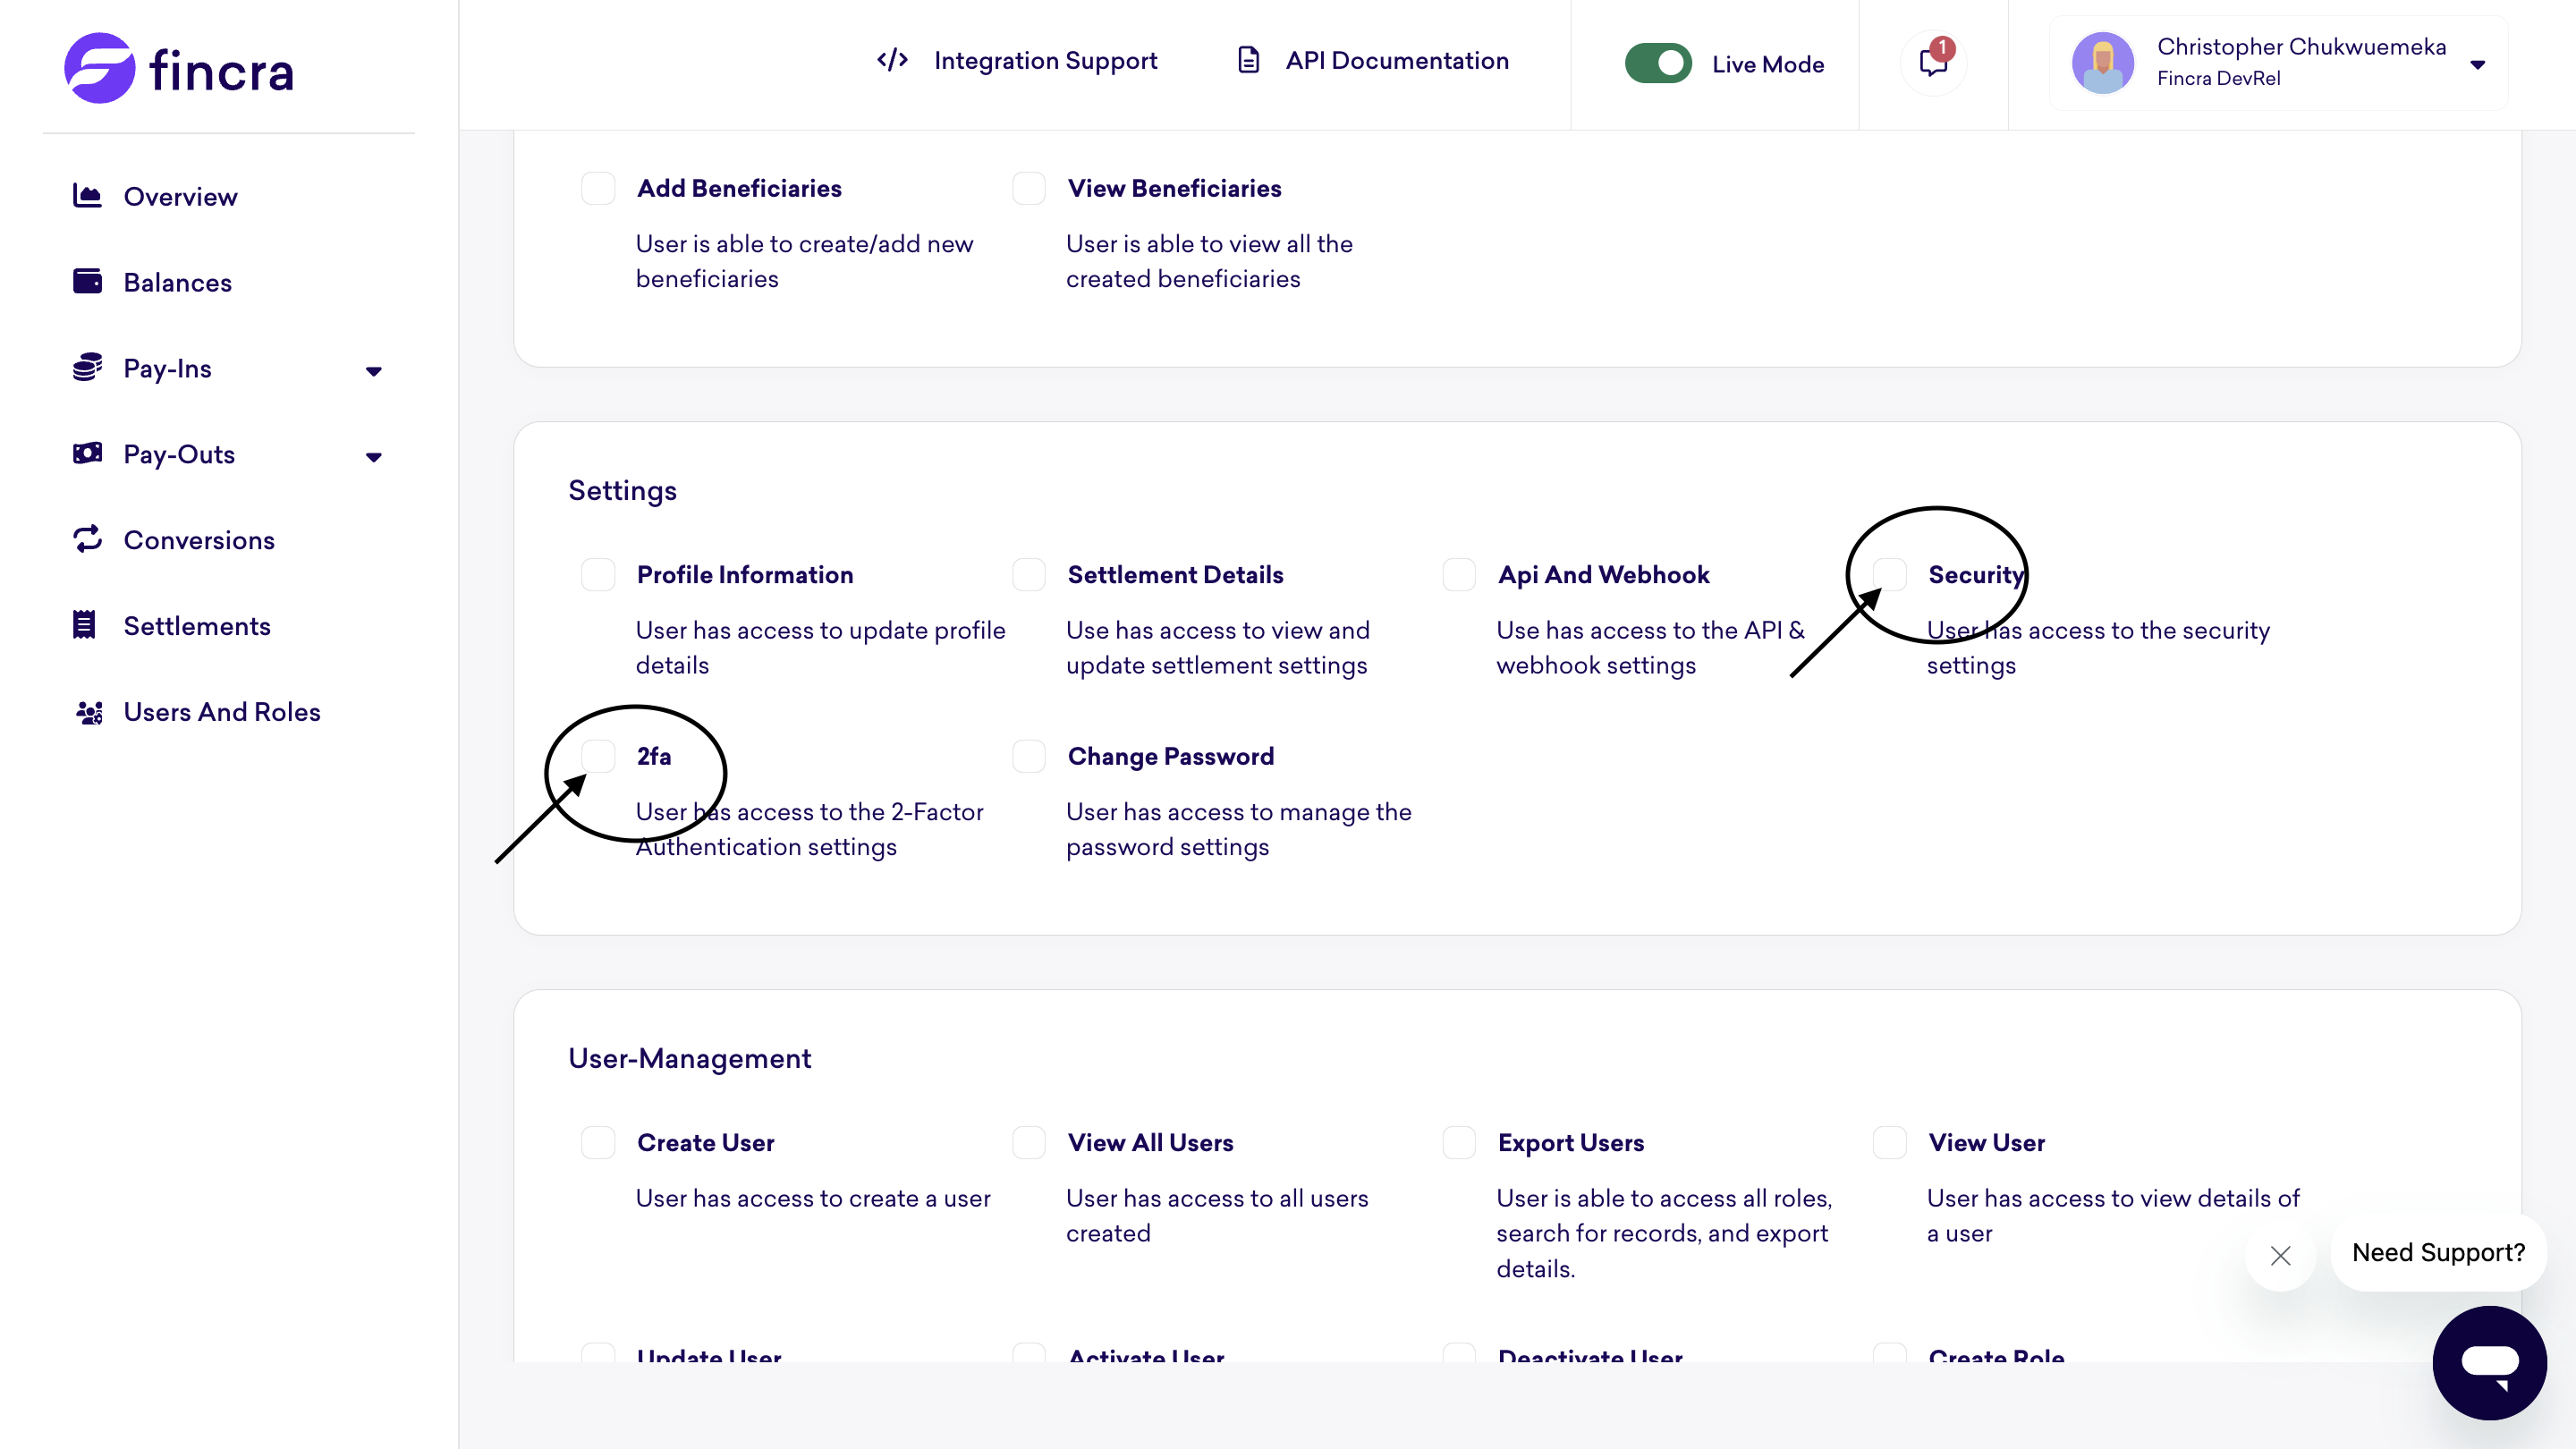
Step 3: Defining Role Permissions
- Give the new role a name (e.g., "Finance Manager," "Support Agent").
- Then, assign the necessary permissions by checking the relevant boxes.
Important Permissions to Include:
- Access to the Settings Page: This permission is crucial for configuring account preferences.
- Ability to Set Up Two-Factor Authentication (2FA): For security purposes, users are required to enable 2FA on their accounts. Without this permission, the user won’t be able to set up 2FA, which may lead to a suboptimal experience on the platform.
Step 4: Saving the New Role
Once all relevant permissions have been assigned, click on the Save New Role button to complete the process.
Managing Users
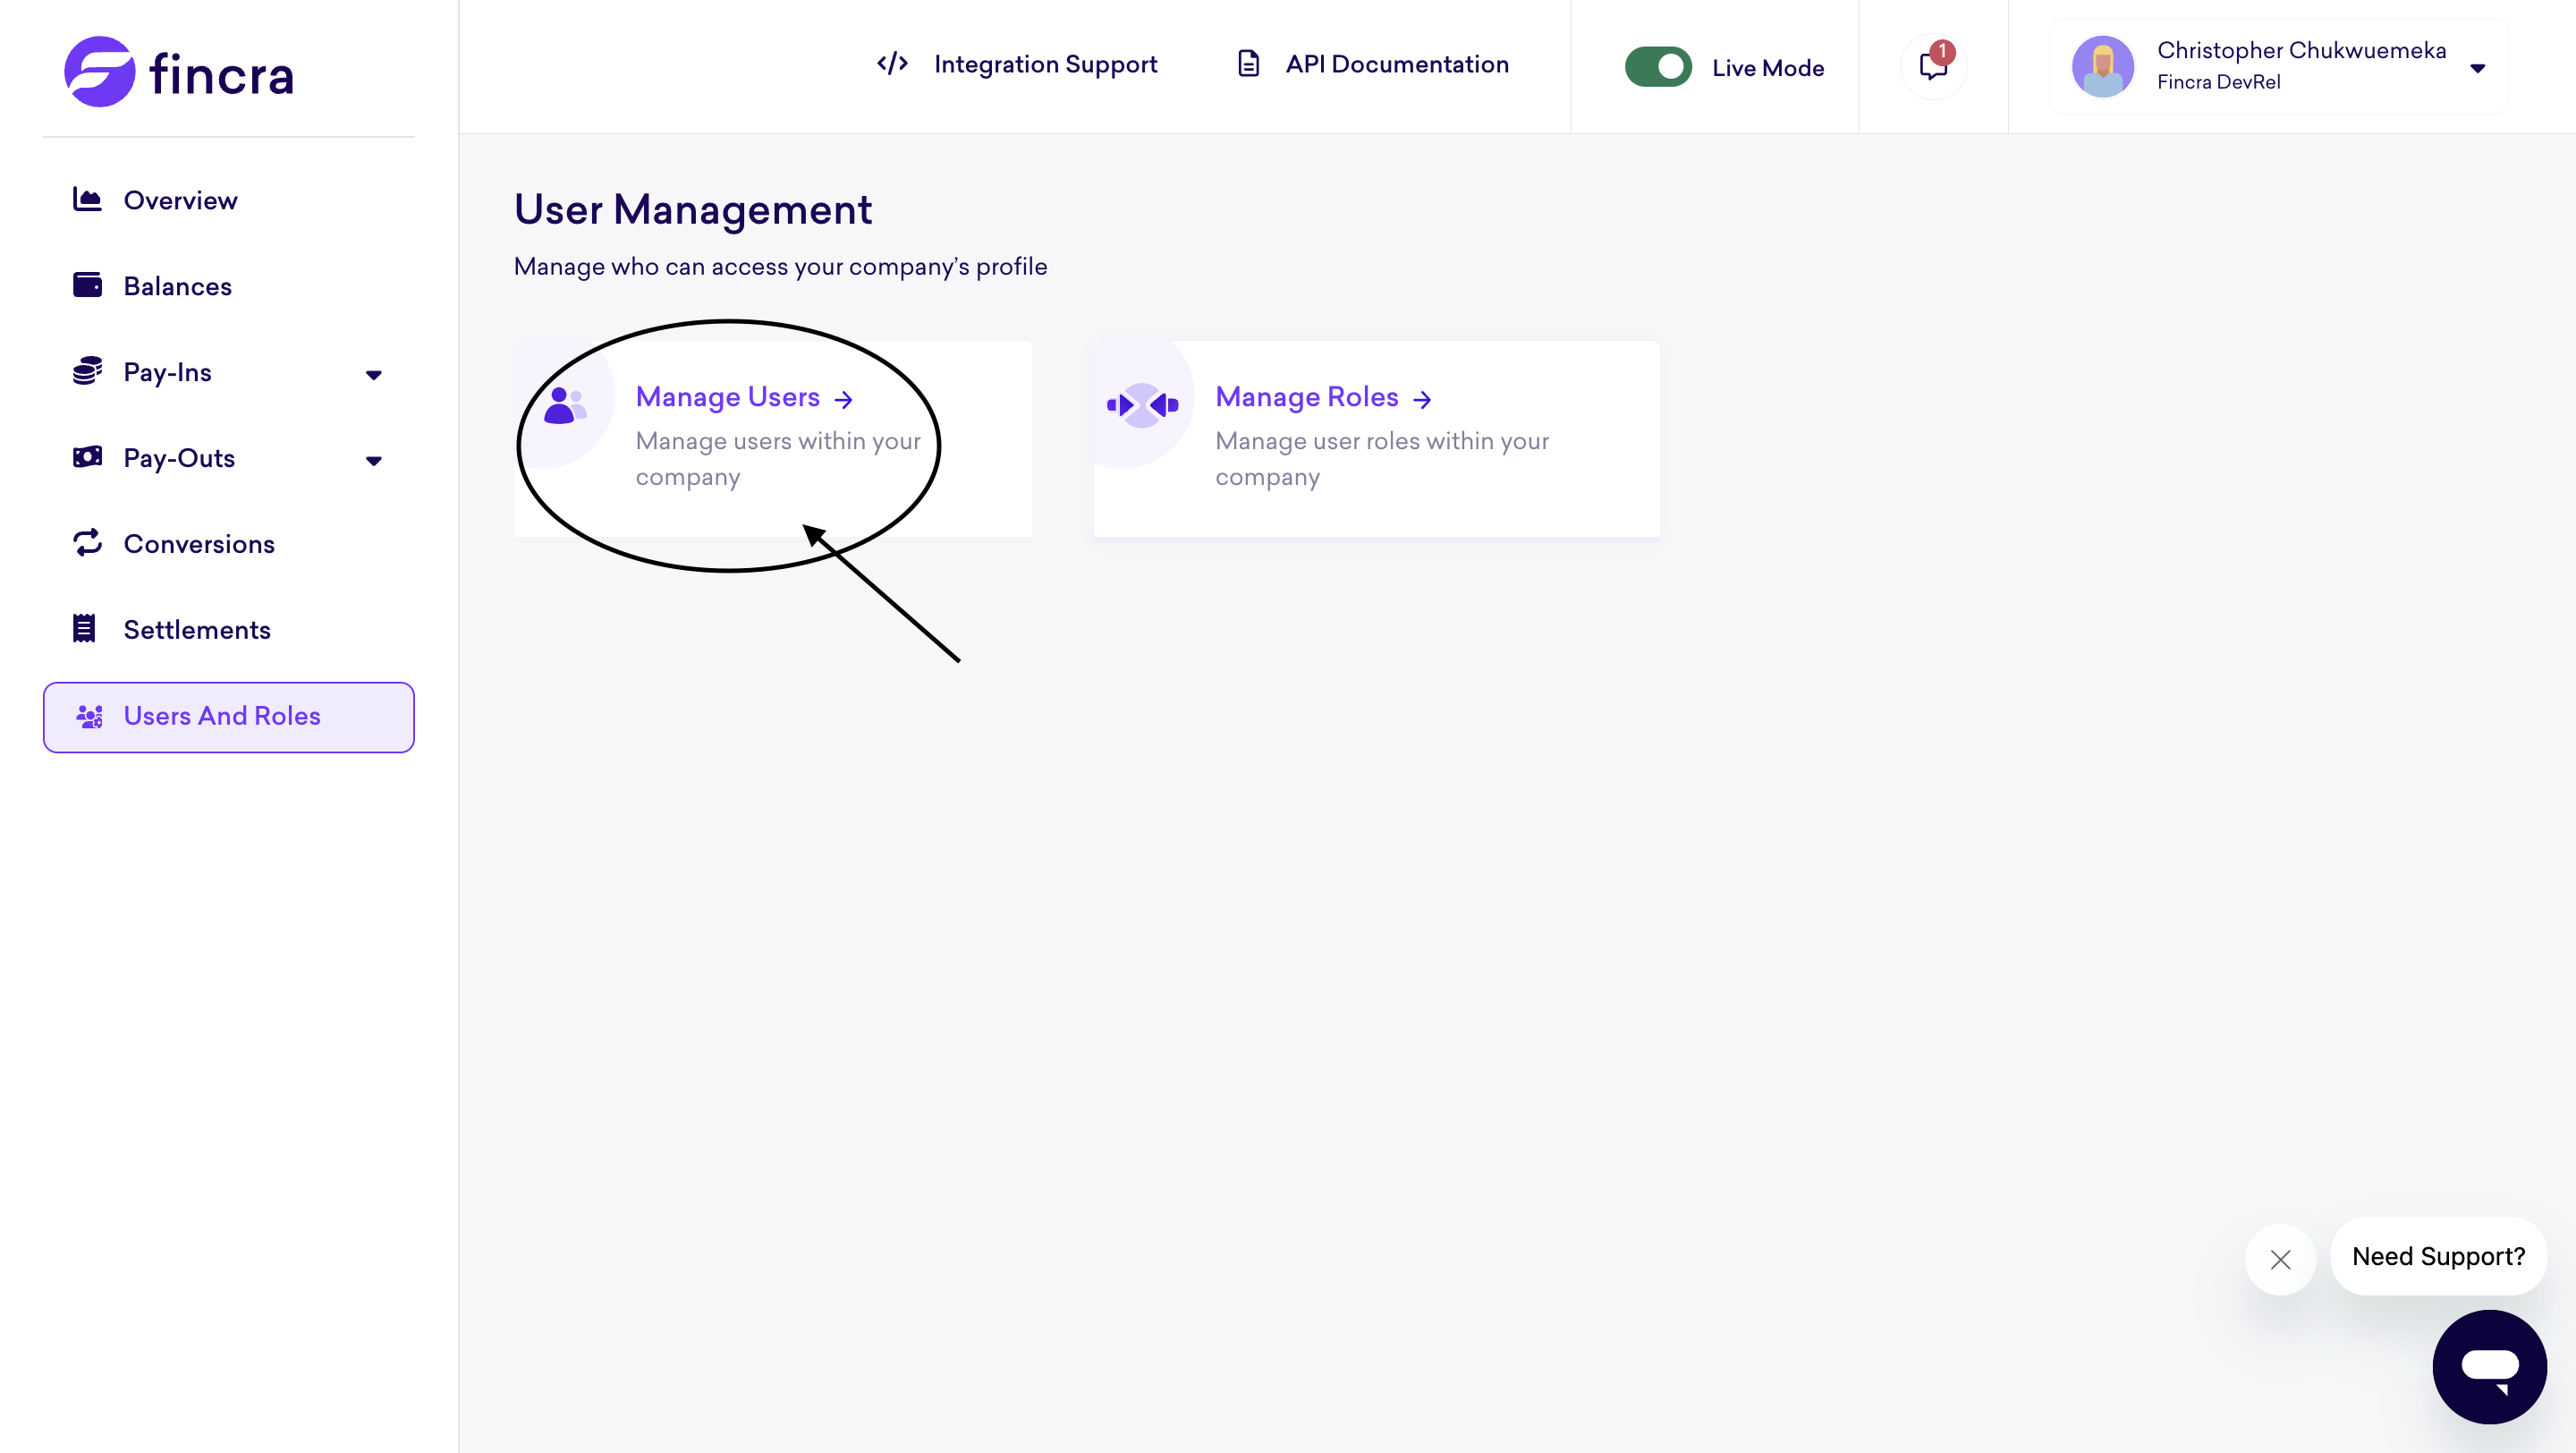
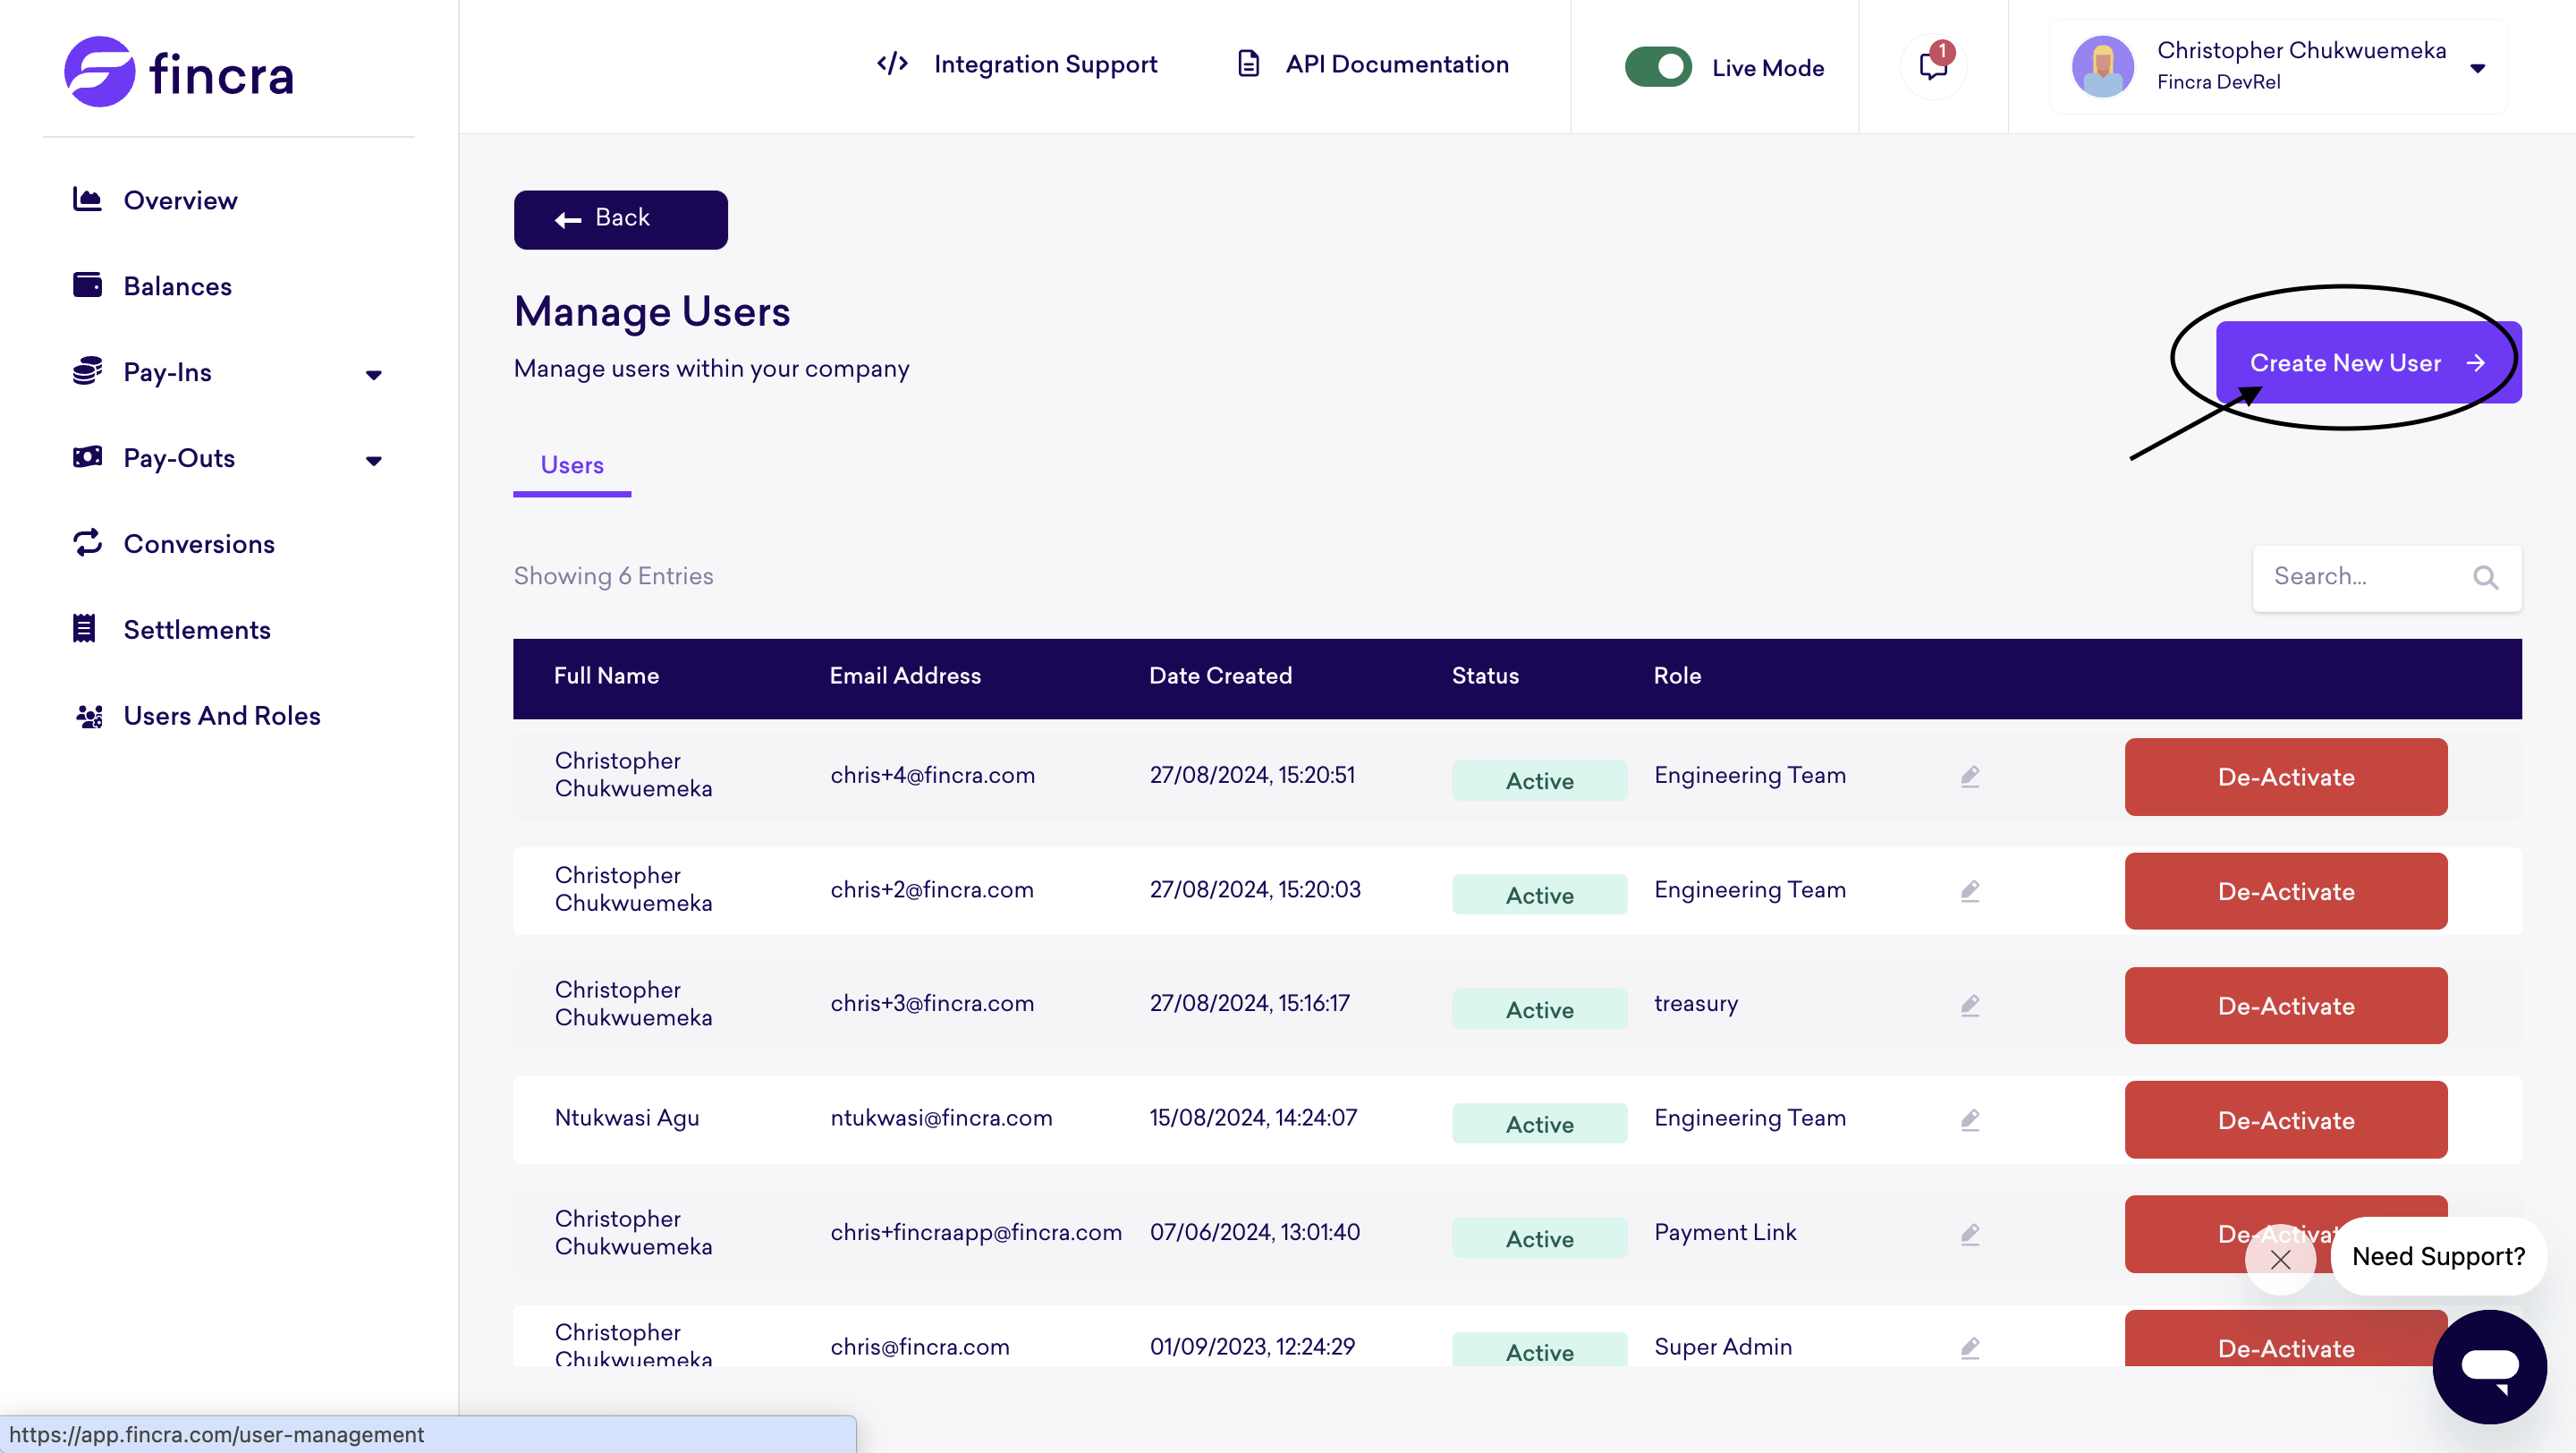
Step 1: Accessing Users Management
After selecting Manage Users, you’ll be presented with a screen listing all users associated with your account. You can update their roles or deactivate their access if needed.
Step 2: Creating a New User
To add a new user, click on the Create User button. This will open the user creation page.
Step 3: Adding User Details and Assigning a Role
- Enter the Name and Email of the user.
- Then, select the appropriate Role from the dropdown menu based on the level of access you want the user to have.
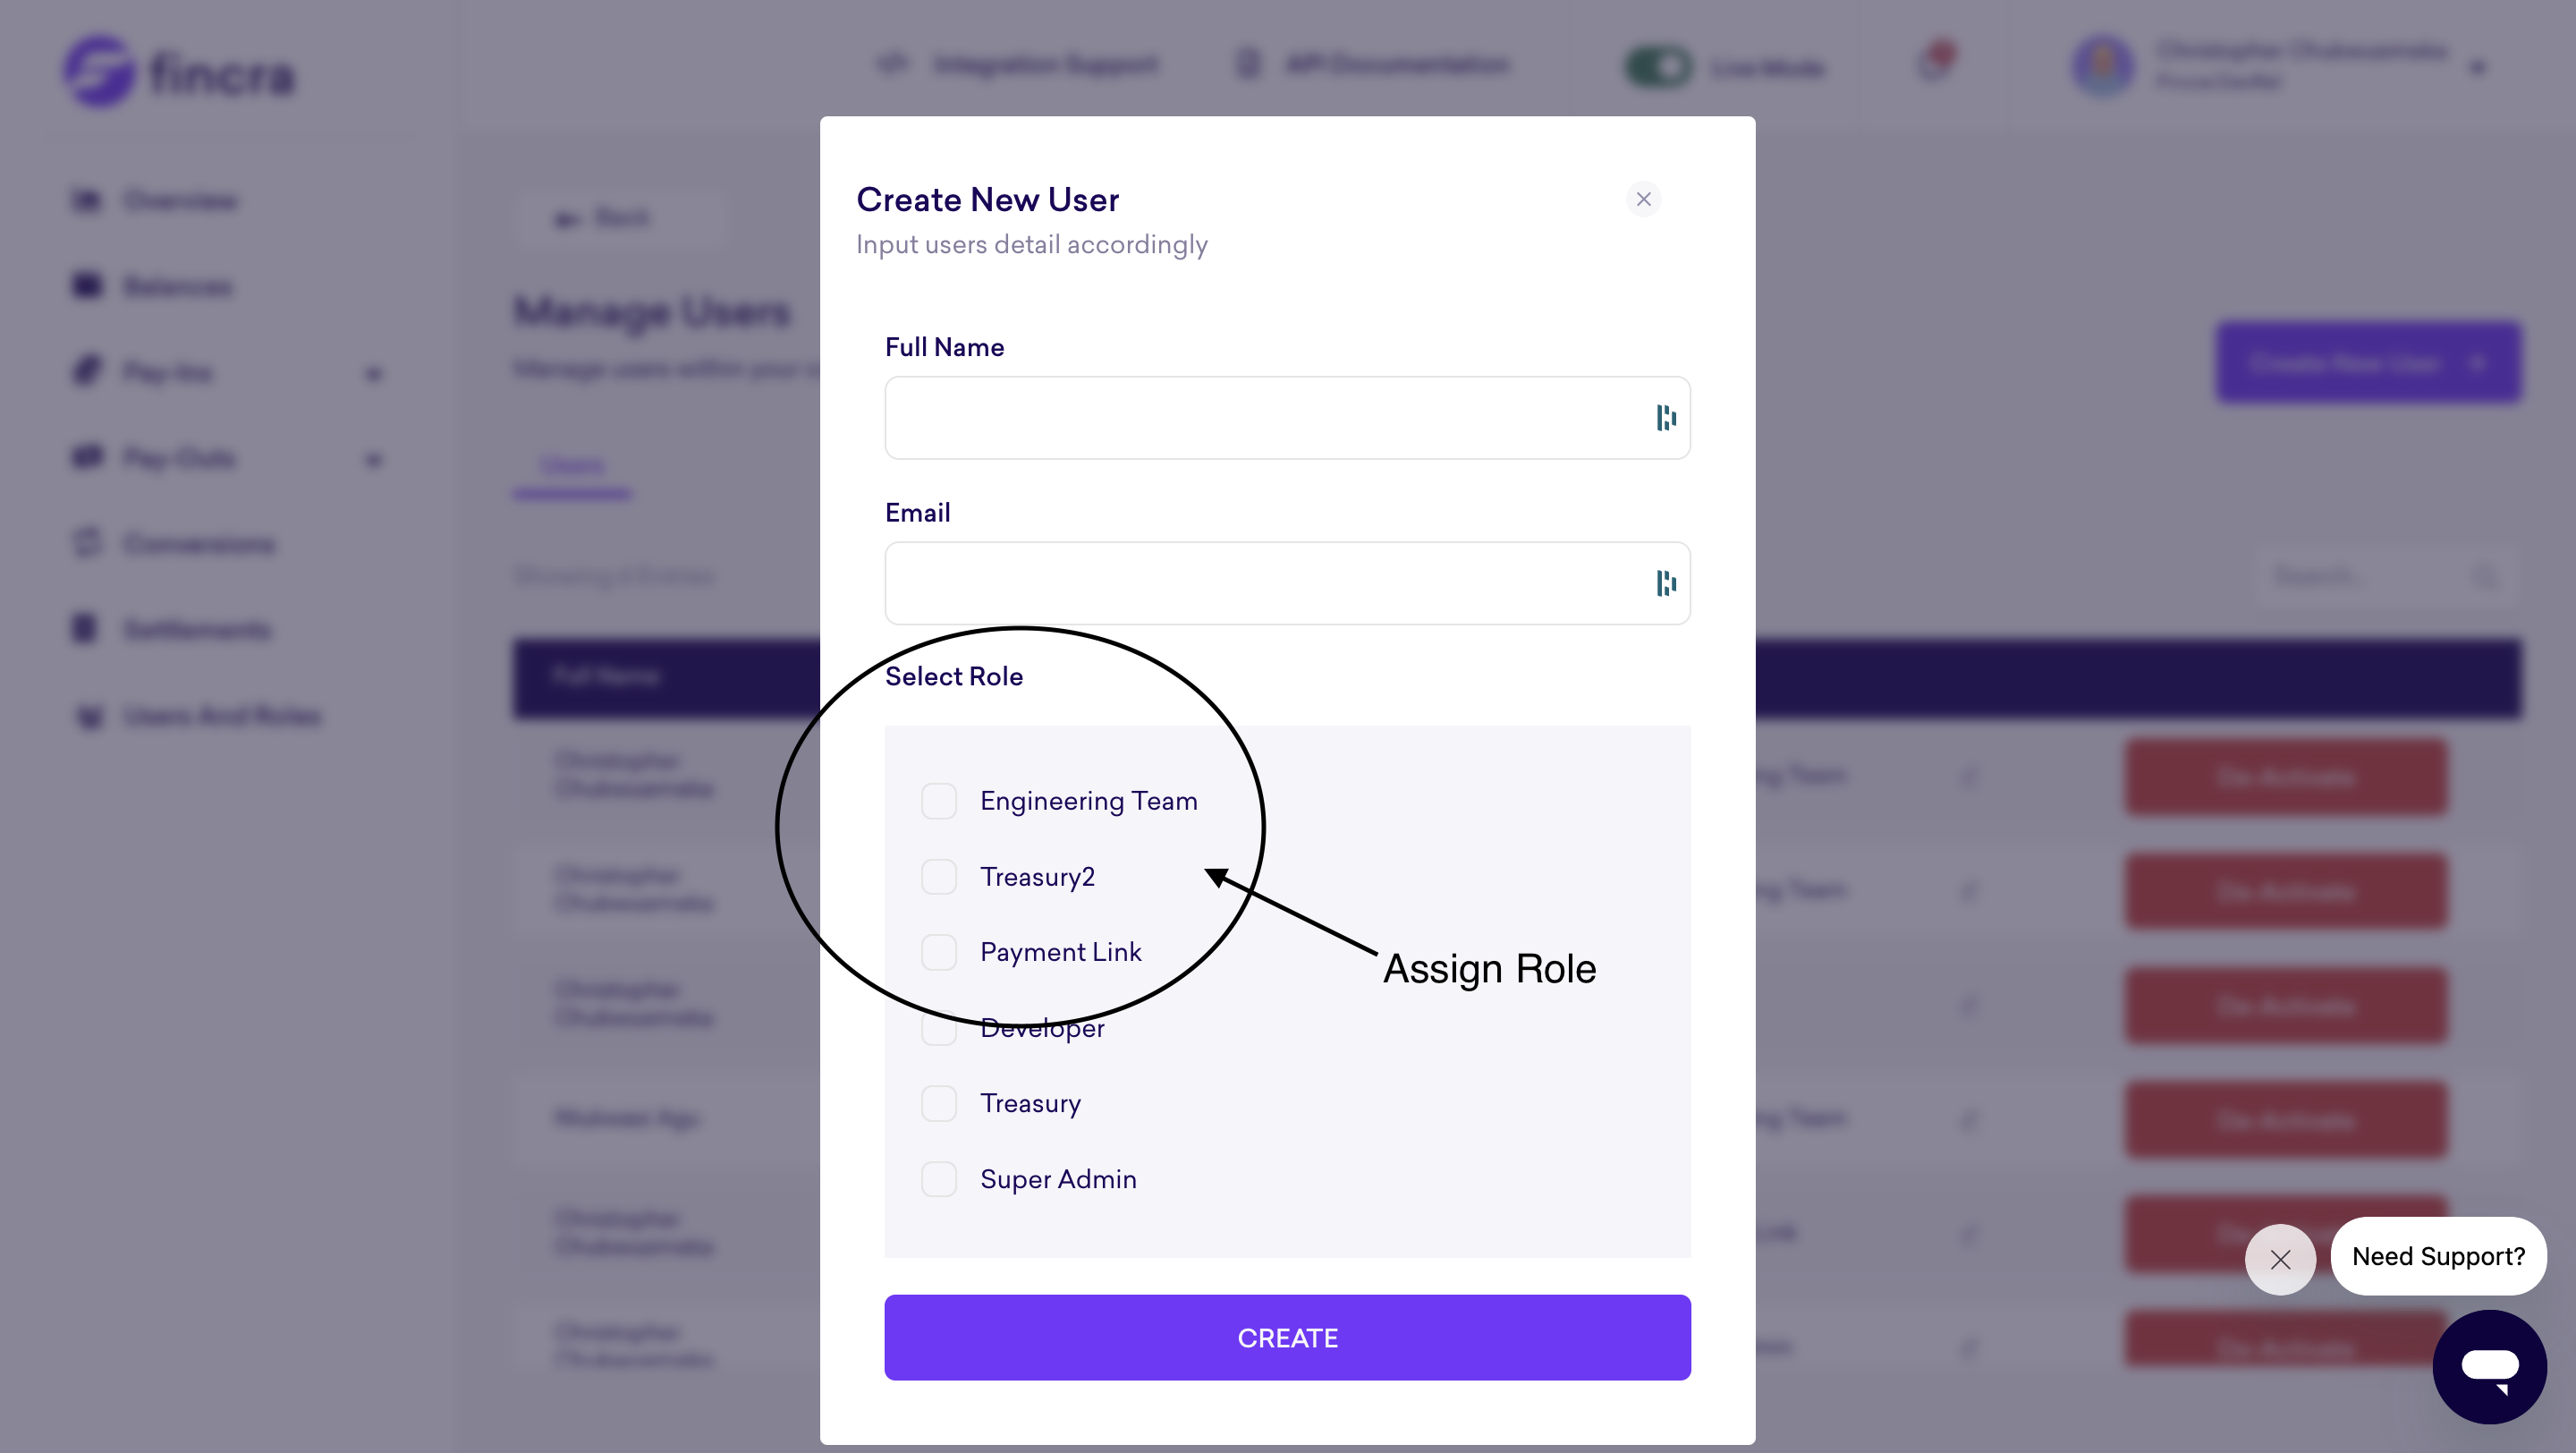
Step 4: Completing User Creation
Once all the information is filled in, click the Create User button. The user will receive an email prompting them to set up their password.
Additional Recommendations
- Role-Based Access: It’s a good practice to assign roles based on user responsibilities (e.g., accounting, support). This ensures that users only have access to the features and data necessary for their role.* User Deactivation: If you ever need to revoke a user’s access temporarily or permanently, you can deactivate their account from the Manage Users section.
Updated 8 months ago